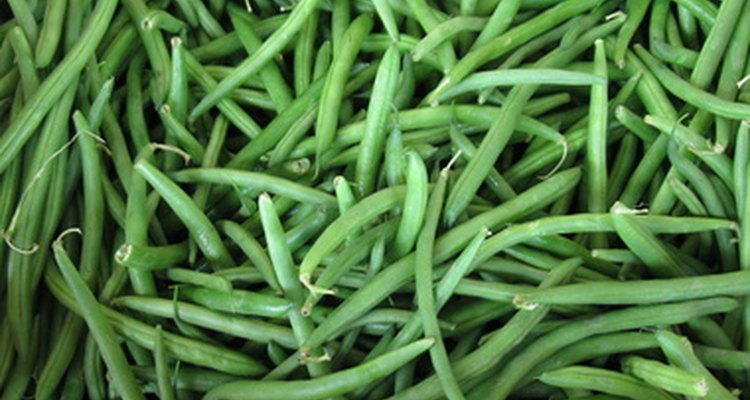
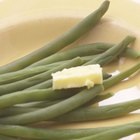
Blanching green beans refers to the process of heating them, thereby stopping the enzymes that otherwise would make them continue to ripen. This step may seem like a waste of time, but is is very important when freezing string beans (or most other vegetables, for that matter). The blanching process itself takes only a few minutes once you bring water to a boil; and you can blanch several batches of green beans in rotation to save time and effort.
Put a pot of water on the stove over high heat to allow the water to come to a boil while you prepare the beans. The pot should easily be large enough to hold the green beans you wish to blanch along with enough water. As a general rule, use about a gallon of water per pound of beans.
Sort through the beans you are considering freezing and set aside any that are relatively large. Young, small, tender green beans are the best candidates for freezing. Wash the beans throughly, then lay them on a cutting board and slice off both ends from each bean. Discard the ends.
Prepare the beans as you wish. You can cut them into segments, slice them lengthwise, leave them whole or otherwise make them into pieces of the size and shape you wish.
Prepare a large bowl of cold water with a generous amount of ice. This bowl should be large enough to easily hold all the beans along with the ice water.
Place the green beans or green bean pieces into a blanching basket, then put the basket into the pot of boiling water. Cover the pot and boil the beans for three to four minutes. After this time is up, remove the beans from the boiling water and plunge them immediately into the bowl of ice water. Leave them in the ice water for another three to four minutes. Your beans are now blanched, and you can safely pack them into freezer containers (leaving a half-inch of headspace in rigid containers, but removing as much air as possible from freezer bags) and place in freezer.
Related Articles

How to Cook Green Beans to Be Crisp and ...

How to Blanch Lima Beans
How to Freeze Pole Beans
How to Freeze Fresh Shelled Black Eyed ...

How to Reconstitute Dried Beans
How to Freeze Romanesco
How to Soak Adzuki Beans

How to Freeze Edamame Soybeans
How to Convert Dried Beans to Cooked ...
How to Freeze Garbanzo Beans

How to Freeze Mangetout Vegetables
How to Freeze Cooked Dried Beans
How to Cook Dragon's Tongue Beans

How to Preserve Rutabagas
How to Blanch Okra

How to Blanch Cucumbers
How to Freeze Fresh Beets

Can You Eat Frozen Edamame From the ...

How to Blanch Green & Yellow Beans

How to Freeze Cut Okra
References
Writer Bio
Morgan O'Connor has been writing professionally since 2005. Her experience includes articles on various aspects of the health-insurance industry for health-care newsletters distributed to hospitals as well as articles on both international and domestic travel.
Photo Credits
Green beans image by Christopher Martin from Fotolia.com