


Our Everyday Life
Your Lifestyle Guide
Our Featured Articles
Food & Drink
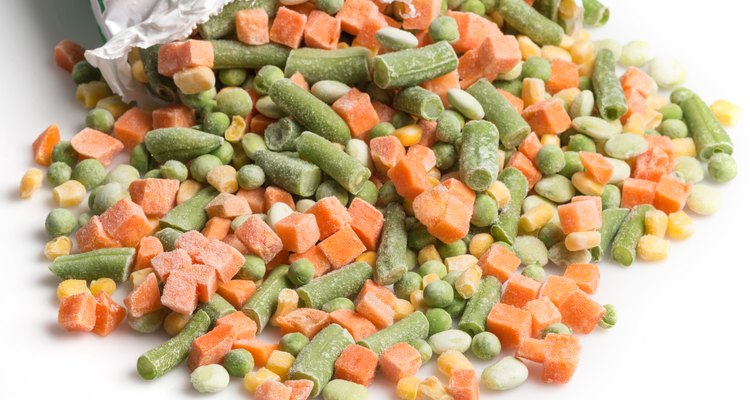
What Causes Ice Crystals on Frozen Food?
There are a few different factors that lead to ice crystals forming on the food that you're storing ...

Food & Drink
What Are the Dangers of Titanium in Cookware?
Amidst reports that some metal cookware contains elements ...

Relationships & Family
Things to Do to Honor the Birthday of a Deceased Parent
Losing a parent is a difficult life experience for anyone, ...

Food & Drink
How to Bake a Cake: A Step-By-Step Guide
Our Recent Posts

Style
The Scale of Pain for Piercings

Style
The Meaning of a Belly Button Ring
Food & Drink
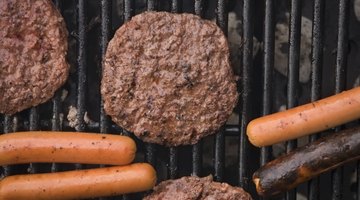
Temperature of a Medium-Well Hamburger

Food & Drink
Spirulina Cultivation Methods

Food & Drink
Should I Pierce Eggs Before Boiling?
Food & Drink
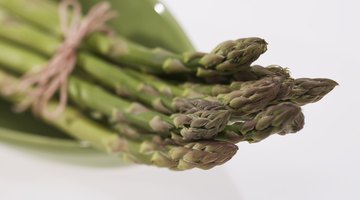
Serving Size of Steamed Asparagus

Relationships & Family
What to Say When Your Grown Children Hurt Your Feelings

Relationships & Family
How to Find The Right Woman To Marry

Relationships & Family
How to Take Responsibility for Your Actions

Relationships & Family
Problems With Parents & Teen Relationships

Style
Problems With Nose Piercings

Relationships & Family